
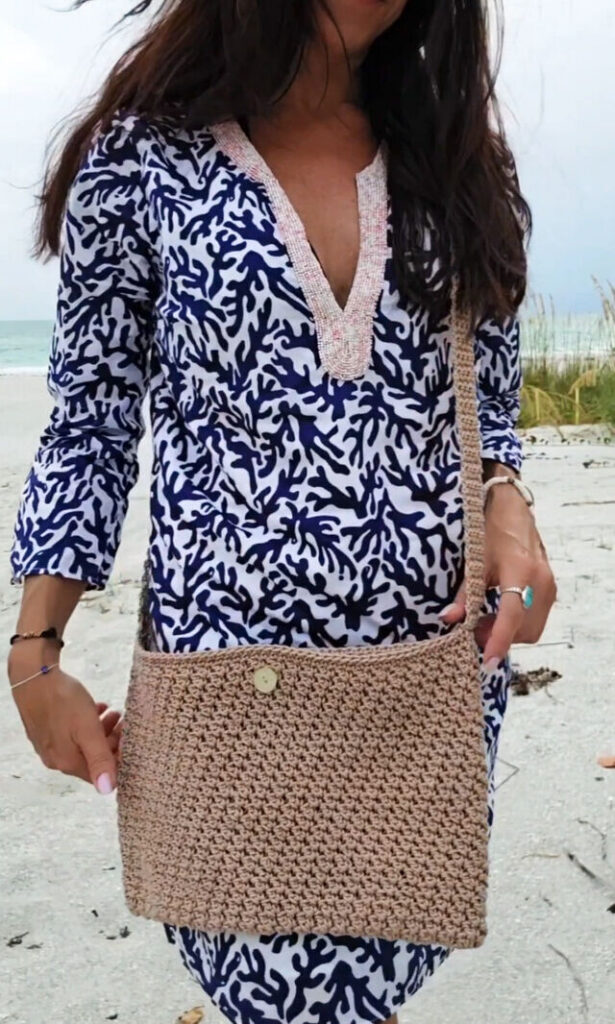
I am so excited to share my latest free crochet pattern with you: The Sandbar Boho Crossbody Bag.
If you’re anything like me, you’re always on the hunt for the perfect summer bag—something lightweight, cute, and functional enough for quick trips to the farmer’s market or running everyday errands. Typically, I reach for a much thicker cotton thread when I’m designing bags. But this time around, I wanted something that felt lighter and more effortless. That’s how this crochet crossbody bag was born!
It has a beautiful, subtle texture with no large holes, so you don’t have to worry about your keys or lip balm slipping through. One quick tip before you dive in: I highly recommend using a light-colored yarn for this project. I found that the stitch definition really gets lost in darker colors, whereas a light neutral (like the gorgeous camel shade I used) really makes the texture pop and gives it that perfect beachy, boho vibe.
Pattern Features:
- The Stitch Is a Breeze: The main body of this envelope-style bag is a simple two-round repeat. It is worked in the round, which is why I’ve rated it for advanced beginners and up, but once you get the rhythm down, it works up incredibly fast.
- Easy Construction: You’ll crochet the body in the round, and then simply sew the bottom edge shut at the end.
- Customizable Strap: The strap is worked separately in rows. I made mine nice and long to wear as a crossbody, but you can easily adjust the length to turn it into a shoulder bag or a short tote.
- No-Fuss Buttonhole: We’re using a small button to keep the bag secure, but you don’t have to worry about crocheting a tricky buttonhole. The natural gaps in the stitch pattern work perfectly to slip your button right through!
Grab your hook, find a cozy spot, and let’s get crocheting!
The Sandbar Boho Crossbody Bag Pattern
Finished Measurements
- Width: About 13½ inches
- Height: About 8¼ inches
Skill Level
- Advanced Beginner (due to working in the round)
Materials
- Yarn: Medium (4) weight cotton yarn. You will need about 300 yards. (I used Yarn Bee Fundamental Cotton in the color Camel)
- Hook: Size 4.5 mm crochet hook
- Notions: 1 small button, tapestry needle for sewing
Gauge
- 15 sc = 4 inches
Abbreviations (US Terms)
This pattern is written in standard US terms.
- ch – Chain
- sc – Single crochet (UK double crochet)
- dc – Double crochet (UK treble crochet)
DIRECTIONS:
Starting at the bottom of the bag: Ch 96
Join in the round with a slip stitch in the first ch, ch 1, sc in the same ch as the slip stitch (place marker for the first sc and carry marker up each round), sc in each ch around. (96 sc)
NOTE: The beginning ch 1 does not count as a stitch in this pattern.
MAIN BODY ROUNDS (The main body is worked in continuous rounds so you will not be joining with a slip stitch at the end of each round):
1: Sc in the first sc (place marker for first sc), work 1 dc in the same first sc (this is your first 1 sc, 1 dc group), *skip 1 sc, work (1 sc, 1 dc) in the next sc; repeat from * around to the last sc, skip the last sc & sc in the first sc (place marker for first sc of the next round). You will have 48 groups of (1 sc, 1 dc) before ending the round with the sc in the first sc.
2: Work 1 dc in the same first sc,*skip the next dc, work (1 sc, 1 dc) in the next sc; repeat from * around to the dc of the last group, skip the last dc & sc in the first sc (place marker for first sc of the next round). You will have 48 groups of (1 sc, 1 dc) before ending the round with the sc in the first sc.
Repeat round 2 until the bag measures approximately 8 inches from the base (or to your desired height). At the end of your final round, slip stitch into the first sc instead of single crochet. It’s helpful to place a marker in this slip stitch so you do not confuse it for a stitch in the next round.
TOP BORDER ROUNDS:
1: Ch 1, sc in the same sc as the slip stitch (place marker for first sc), sc in the next dc, *sc in the next sc, sc in the next dc; repeat from * around ending slip stitch in the first sc. (96 sc)
2: Ch 1, sc in the same sc as the slip stitch, sc in each sc around ending slip stitch in the first sc.
SHOULDER STRAP (The strap is worked in rows):
1: Ch 1, sc in the same sc as the slip stitch, sc in each of the next 3 sc. Turn. (4 sc)
2: Ch 1, sc in each of the 4 sc. Turn. (4 sc).
Repeat row 2 working only on the 4 sc until you reach your desired strap length. For a crossbody bag, I crocheted mine to 40 inches. Keep in mind that the strap will stretch quite a bit when worn for the first time!
ATTACHING THE STRAP:
Step 1: Locate the Placement
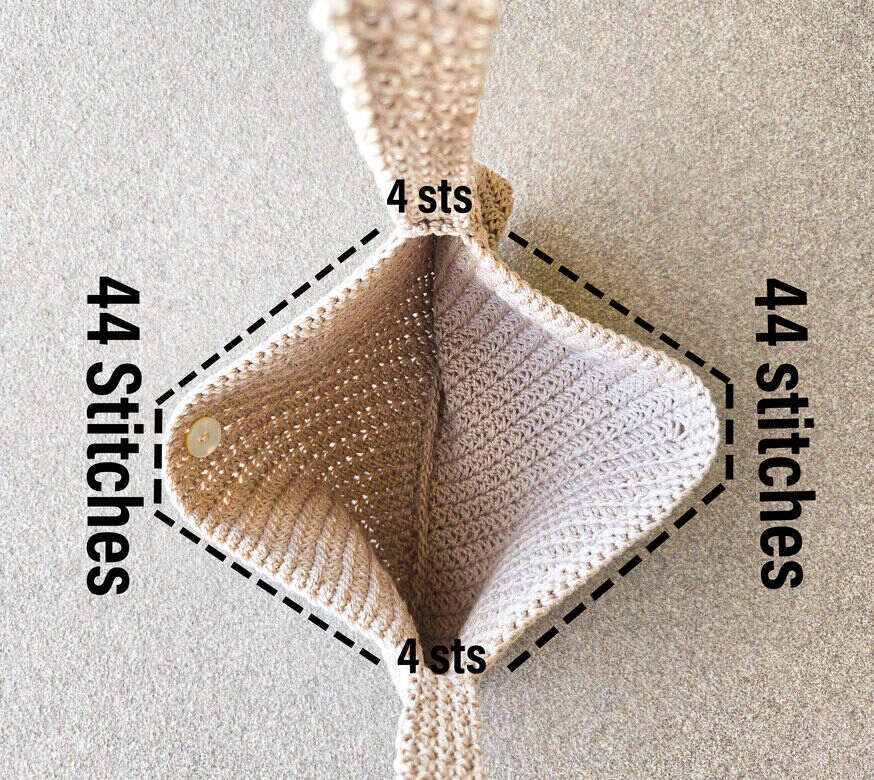
To find the exact placement for the opposite side of the strap, skip 44 stitches along the bag’s top rim from each side of the existing strap base. The remaining 4 stitches directly opposite will be your attachment point.
Step 2: Align and Sew
- Fasten off the strap, leaving a long tail for sewing.
- Being careful not to twist the strap, align its 4 stitches with the 4 designated stitches on the bag.
- Turn the bag so the inside is facing you (choose whichever side you prefer to be the inside, as the pattern is reversible).
- Using a yarn needle, sew through both loops of each single crochet on the strap and the corresponding stitch on the bag body.
Step 3: Finish
Secure your yarn, fasten off, and weave in all loose ends.
SEWING THE BOTTOM OF THE BAG
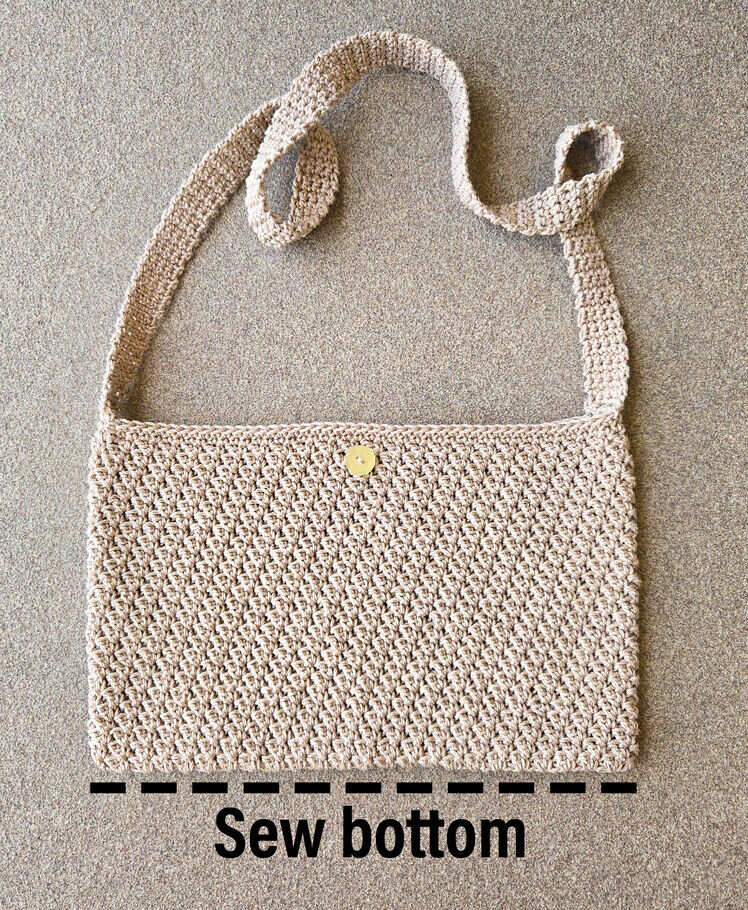
- Turn the bag inside out. Flatten the body so the stitches line up evenly along the bottom edge. Using a yarn needle and a length of matching yarn, sew the bottom edges together securely using a whipstitch (or mattress stitch). Fasten off and weave in your ends.
SEWING THE BUTTON
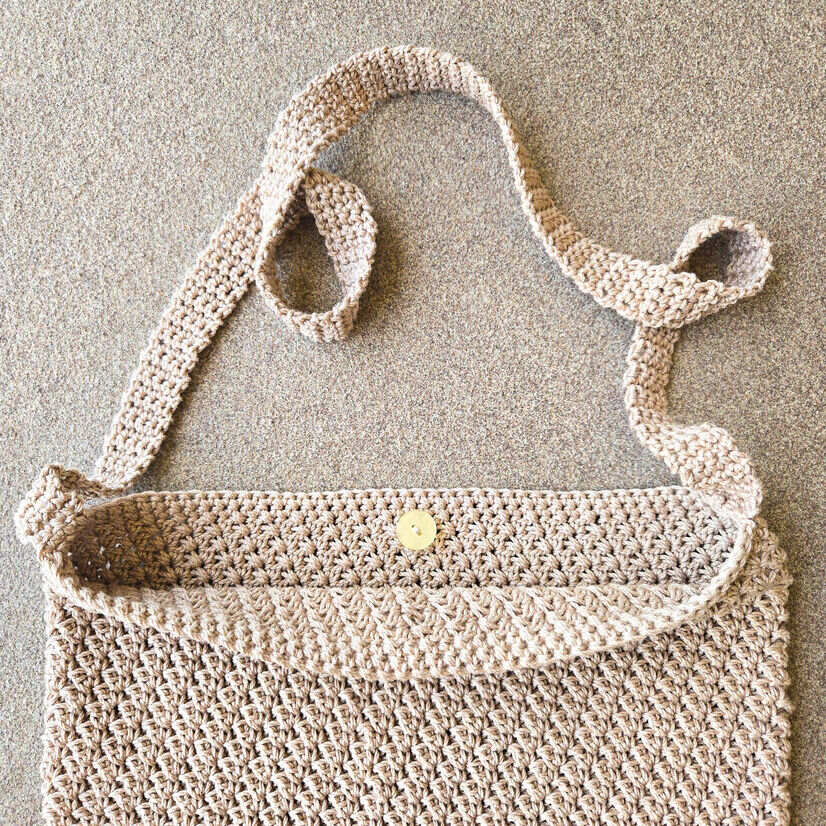
Center the button on the inside back wall of the bag, approximately 4 rows down from the top edge. Using sewing thread or a strand of matching yarn, sew the button securely in place. The natural gaps created between the sc/dc groups on the front will serve as your buttonhole.
You’re all done and I hope you love your new Sandbar Boho Crossbody Bag! I would love to see your finished projects so please tag me on social media.